Introduction
After being made redundant I felt the need for a creative outlet and eventually decided to try my hand at modelling - not the supermodel variety!
I called this
Modelling Madness as I made everything 'from scratch' rather than buy it - something many would indeed call madness - especially with some of the materials I have used.
Watch Slideshow
This is a work in progress and will be gradually developed - It may enlighten, amuse or even inspire.
(emails to
modelling@cook4one.co.uk)
The End Point
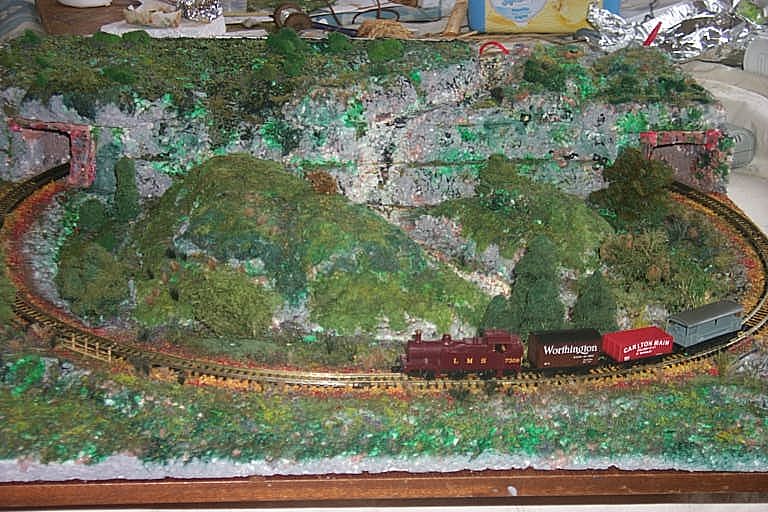
I decided to make a small train set with associated landscaping and as this was the first time I had ever done something like this it was quite a challenge.
A train set was chosen, not because I liked playing with trains (although that does have its appeal) but because it would provide some movement in an otherwise static scene.
I purchased a small and reasonably cheap complete set at about £56 and planned to fit this into a landscape of 2ft x 2ft.
This size was selected as it was hopefully going to be a lounge feature and couldn't therefore dominate the room.
I decided that I would not purchase any pre-made landscape components apart from what I could get from the local DIY store, supermarket and garden.
This was not to save money but to exercise my creative nature.
This is the account of how I went about it, including making 'scatter' material for grass and foliage, trees and general landscape.
The train set was 'British N Gauge' which is a scale of 1:148.
The Starting Point
I decided to use expanded polystyrene for the basic material as this was lightweight and easy to work with.
There are 2 basic types of polystyrene (1) EPS - expanded polystyrene (2) XEPS - extruded expanded polystyrene, otherwise known as Styrofoam.
The best type to obtain is XEPS as this has a much finer texture whereas the EPS is made of small balls of polystyrene.
In the UK it is difficult to get anything other than EPS from local DIY stores, so EPS it had to be.
This can be purchased in 8'x4' sheets in thicknesses of 25mm or 50mm.
I had to cut this up in order to get it into the car but that was no problem.
I sketched out a layout that appealed to me and cut the sheeting into suitable shapes as shown here.
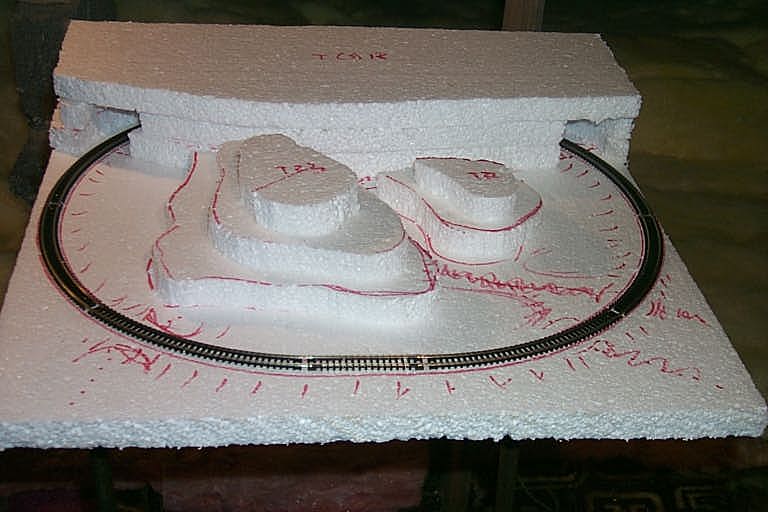
Rough Shaping
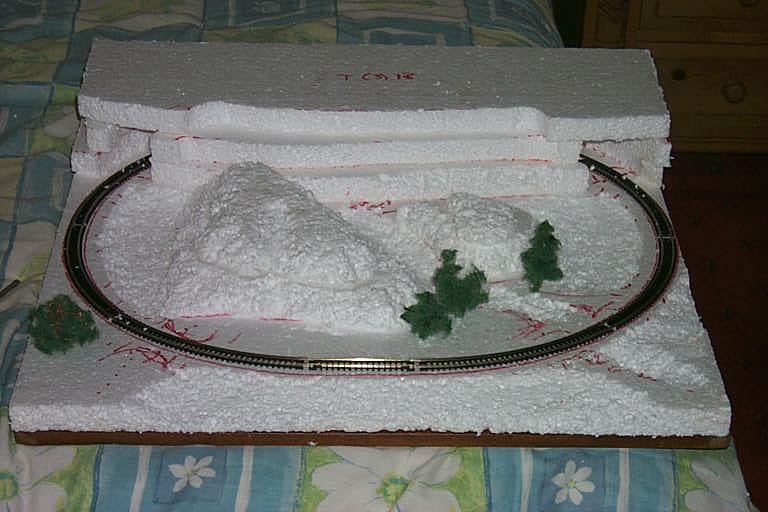
The basic polystyrene shapes were then roughly shaped using a decorators scraper and the following picture shows the first stage of this procedure.
The trees were added just to see what they looked like in situ and because I had previously made a few.
First Colour Washes
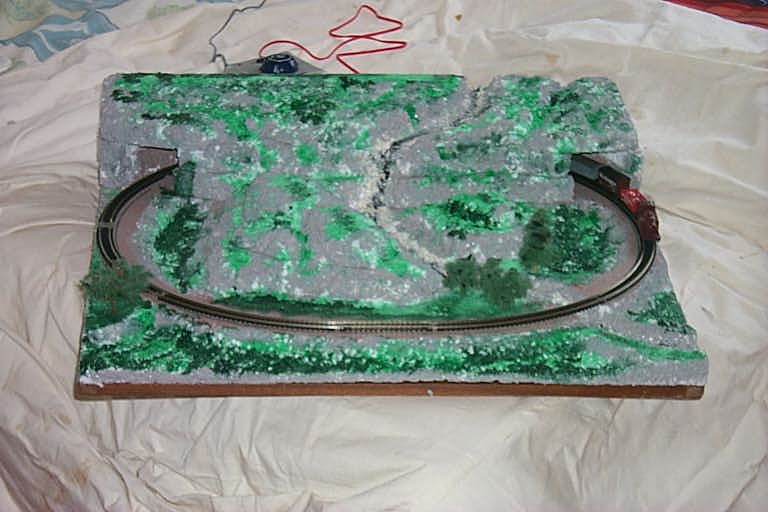
The rough shaping was then washed with some water based colour paint just to give an indication of how the finished model would look.
Some Detail Added
More detailed colouring was then added with the main attention given to the small river and waterfall.
Completing the Model
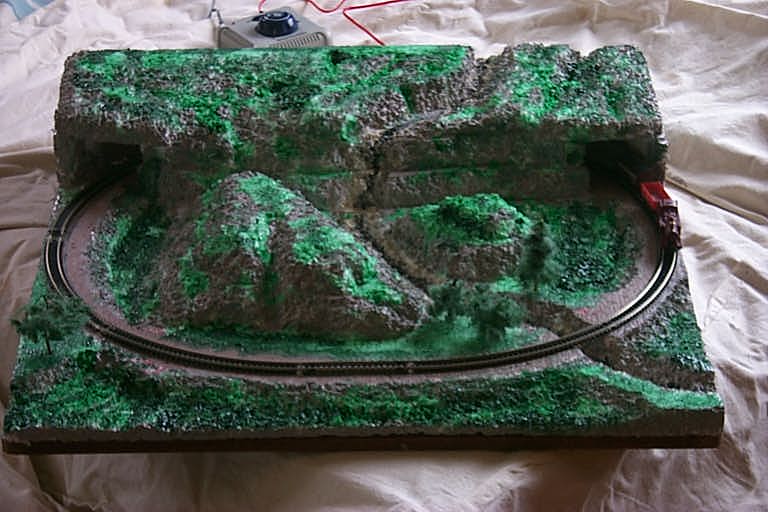
This is where the main work is done and where the realism can be built up by using multiple layers of different materials and scatters.
Trees and shrubs are added and small grasses - this is where the creativity and imagination can be given free reign, but be careful as it is very easy to over-complicate things.
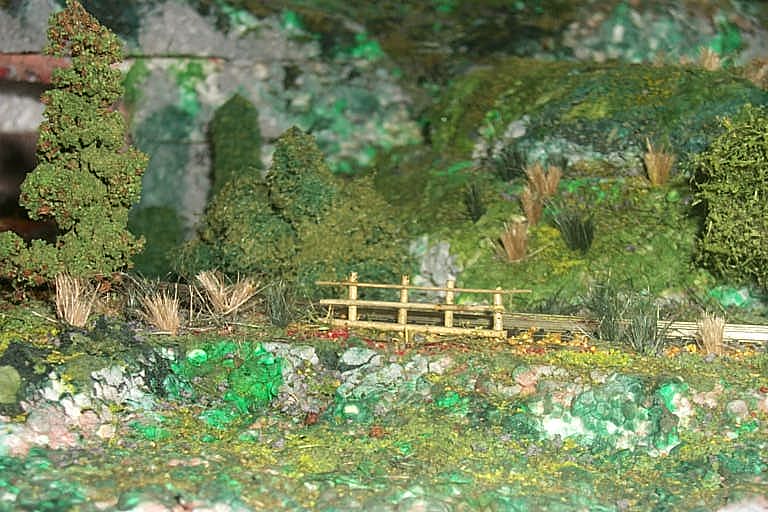
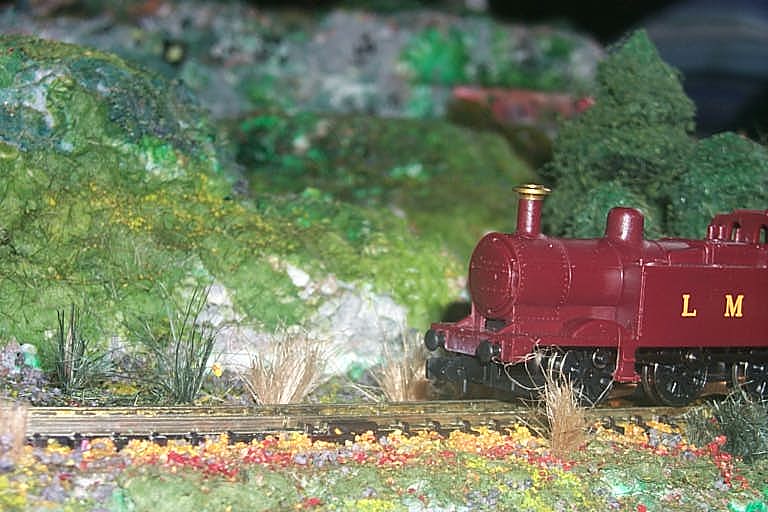
The finished item is shown at the top of the page.
Various Views
